Feeling overwhelmed trying to stay on top of all the data and reports you need to provide to your team?
We get it - there's a lot of information to gather and distribute, and only so much time in the day. This page will walk you through how to use Expo XT's automated reporting tools
to make your life easier.
With Expo XT Collaboration Analytics, you can set up reports in Power BI and have them delivered straight to your stakeholders' inboxes right when they need them. You can also automate and schedule them
so they are sent out automatically on whatever timeline you choose - daily, weekly, monthly etc. Here is how to do it:
Scheduling reports brings several key advantages:
- Automated Report Generation: Eliminate manual efforts and reduce the likelihood of errors by automating the creation and distribution of reports.
- Timely Delivery to Multiple Recipients: Ensure that all relevant stakeholders receive the latest updates, even without constant data monitoring.
- Recurring Reports: Set up reports to be automatically generated and sent out on a regular, defined schedule (daily, weekly, monthly), saving time, and maintaining consistency.
- Customizeable Formats: Cater to different needs by delivering reports in various formats like PDF, Excel, or CSV, or Power Point to enhance accessibility and ease of analysis.
- Each role is carefully tailored to match the responsibilities and requirements of different users within your organization, ensuring data security and governance while promoting collaboration
Prerequisites:
- Access to Expo XT
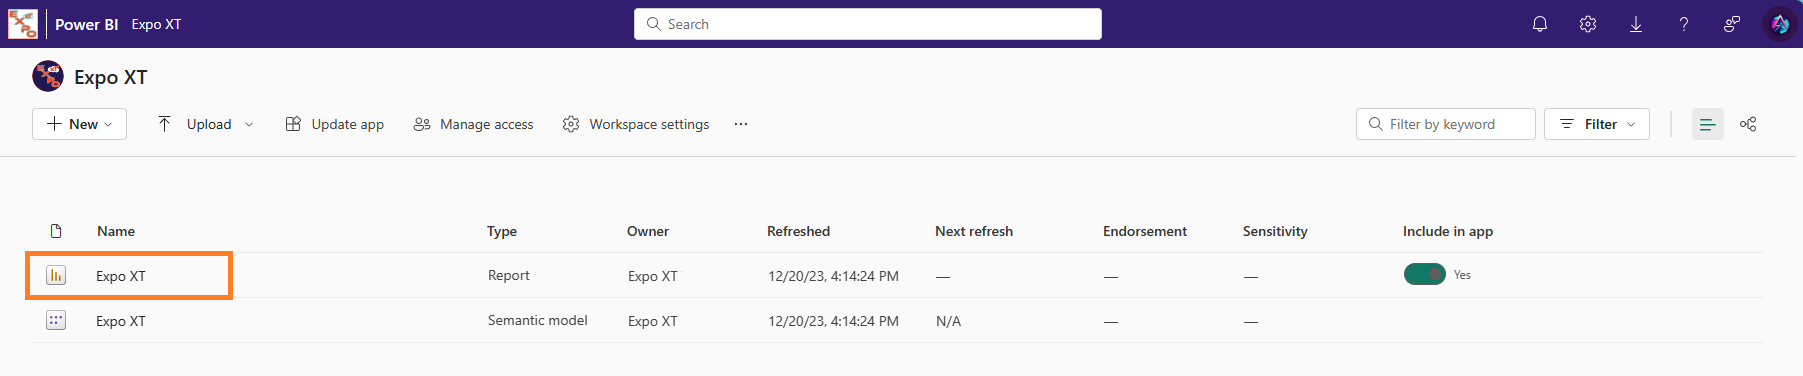
Step 1: Navigate to Expo XT workspace and open the report
- Locate the specific report you wish to schedule in the Expo XT workspace.
- Click on the report to select it.
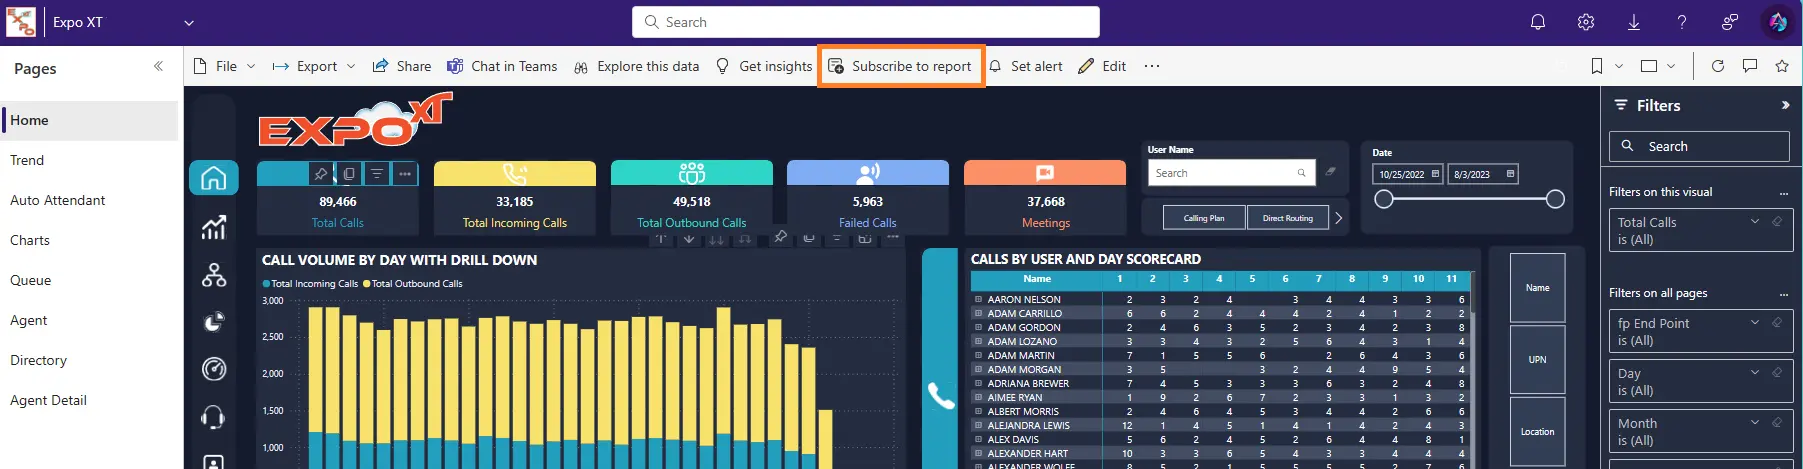
Step 2: Navigate to 'Subscribe to a Report'
- Locate the Subscribe to Report tab in Expo XT and click to select it.
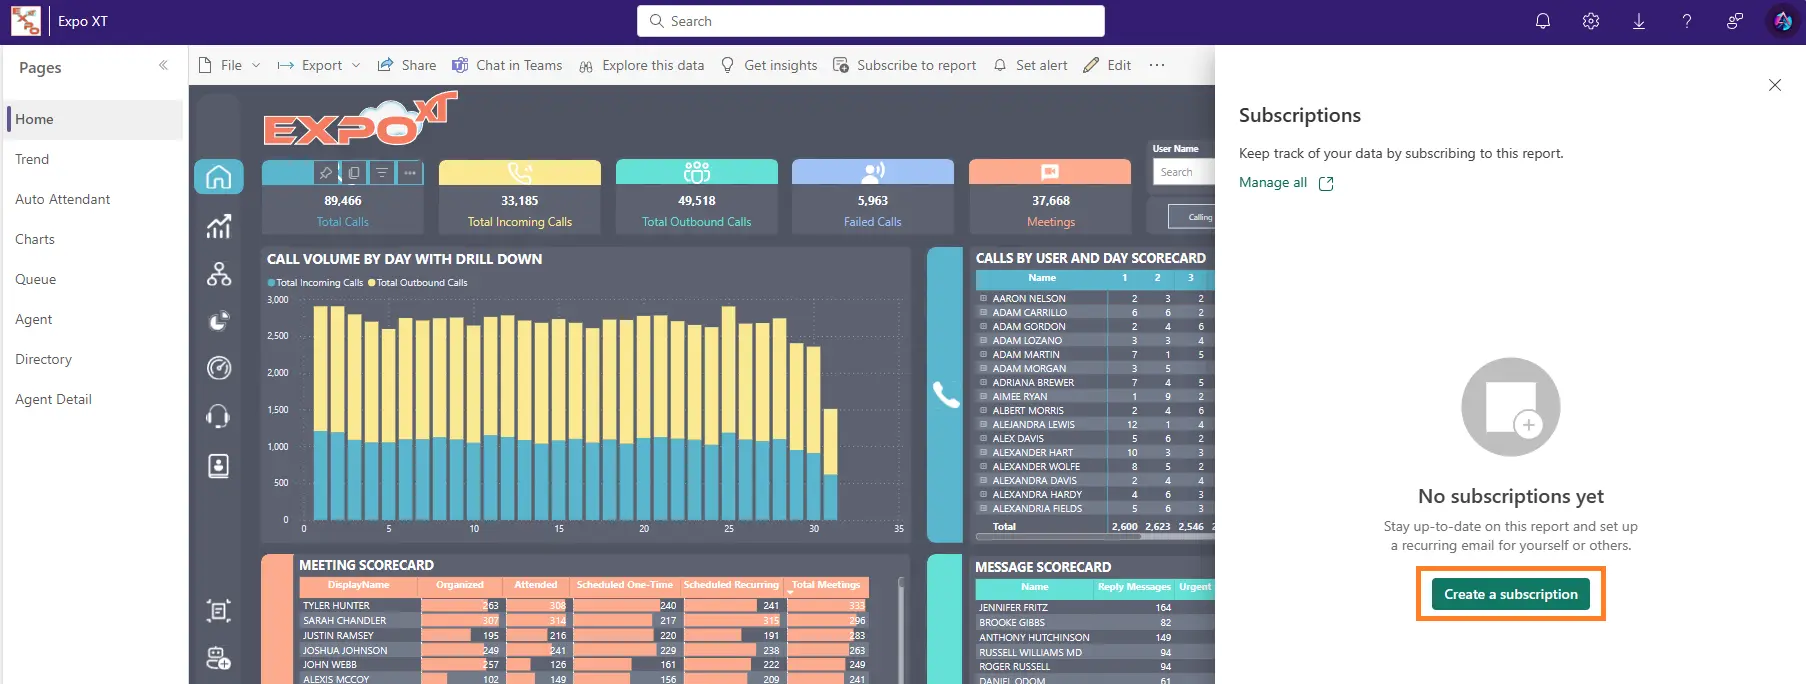
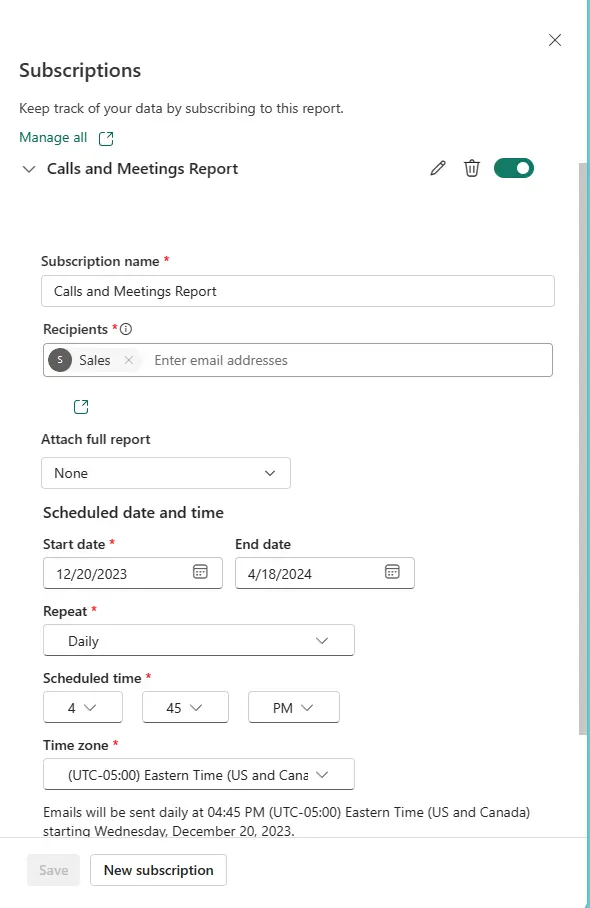
Step 3: Add and Configure the Subscription
- Click on Add a new subscription.
- Configure the subscription fields:
- Subscription Name Field: Choose a unique name for easy identification.
- Recipients Field: Specify who should receive the report
- Attachment Options: Select how the report should be delivered (i.e. PDF, PowerPoint)
- Configure the schedule date and time fields:
- Set the Start Date and End Date
- Set the report delivery frequency (e.g., after data refresh, hourly, daily, weekly, monthly)
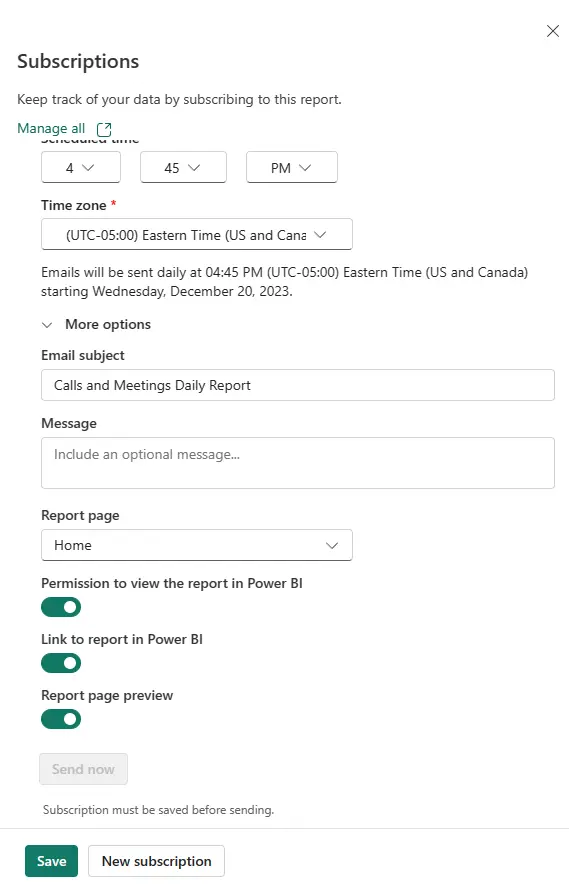
- Configure the Send Settings
- Email Subject Field: Craft a subject for the line of the report delivery email
- Message Field: Write a message to accompany the report
- Report Page: Select the specific page of the report you wish to send
- Additional Settings: Enable or disable options such as Permissions to view the report in Power BI, Link to report in Power BI, and Report Page Preview
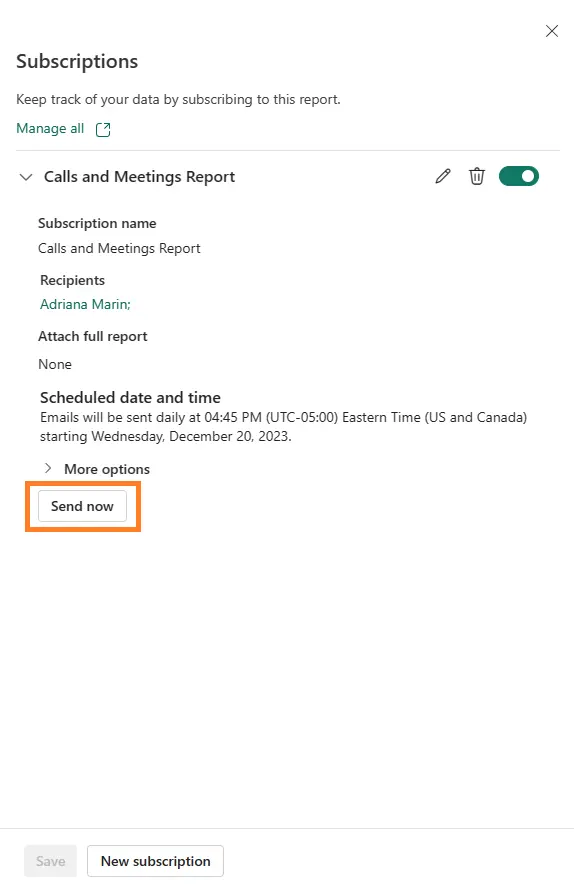
Step 4: Save and Test
- Click Save to confirm your settings. A new window will open.
- Test the setup by selecting Send Now
Key points to remember:
- Permissions: Ensure you have the necessary permissions to create a subscription. If not, contact your system administrator.
- Testing the Subscription: Always test the subscription to ensure it functions correctly and reaches the intended recipients in the right format.
By following these revised steps, you can efficiently set up and manage scheduled reports in Expo XT Collaboration Analytics, ensuring timely and accurate data delivery to your stakeholders. If any assistance is needed do not hesitate to contact our support team that would be happy to help you.