XT2 Telemanagement software makes it easy to generate and schedule call reports by automating the process. This guide details how to set up scheduled reports in xt2 using email notification features to deliver crucial data when it's most needed.
Directions for scheduling a Call Report using XT2
Prerequisites:
- Access to Expo XT
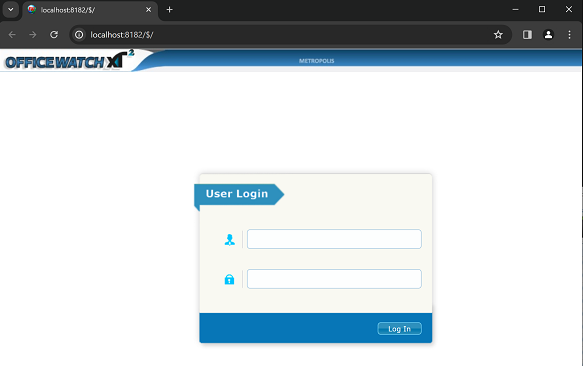
Step 1: Navigate to XT2 Telemanagement
- On the server: Use `localhost:8182`
- Off the server but on the same network: Enter the server's IP address followed by `:8182` (e.g.,`http://192.1.1.1:8182`)
- Log in with your username and password.
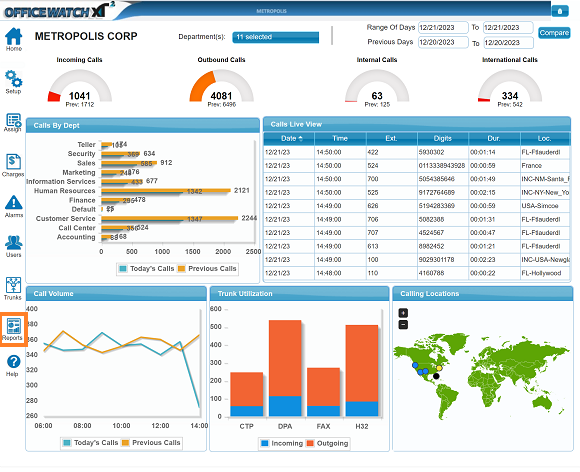
Step 2: Navigate to 'Reports'
- Click on Reports and select the desired report.
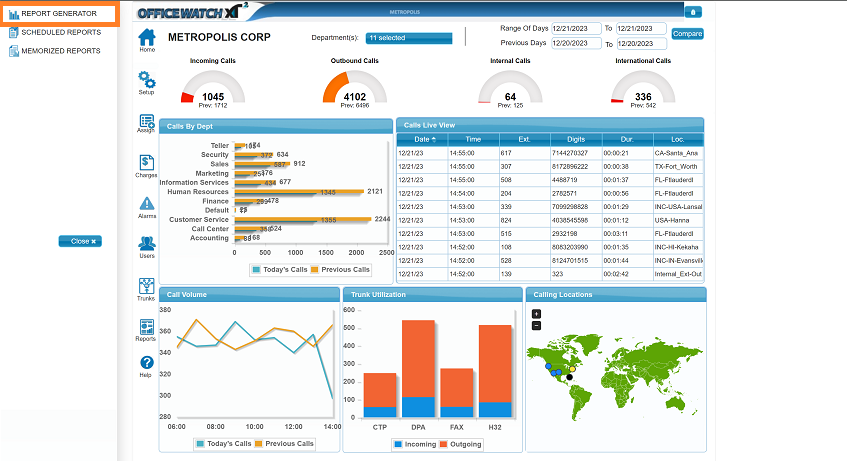
- Next, click on Report Generator
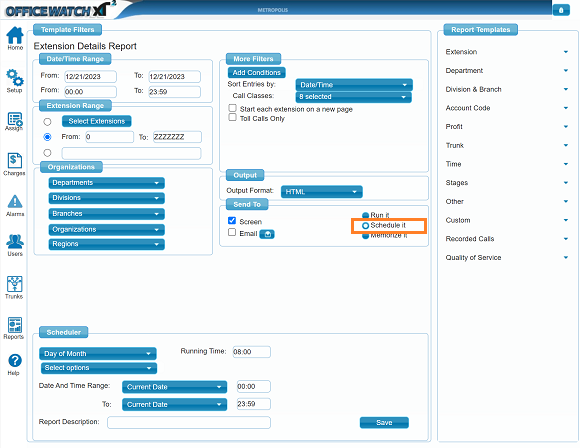
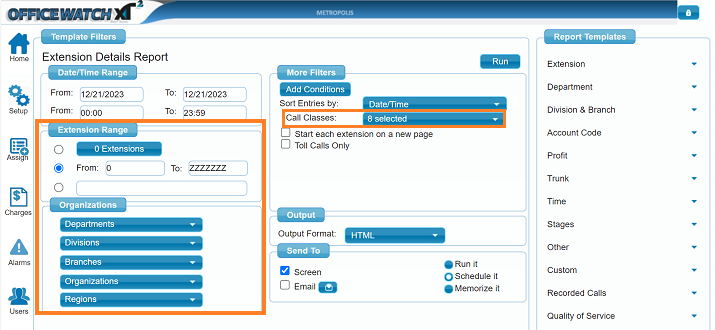
Step 3: Customize your Report Settings
- Enable the Schedue It option
- Apply the necessary filters for your selected parameters (extention range, call classes, etc)
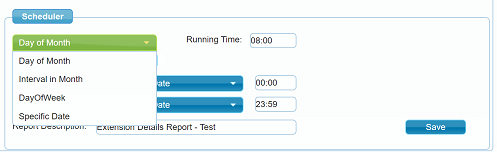
- Configure the frequency fields under Schedule (day of the month, week, specific date, etc) and configure the Date and time range.
- Add a report description and define the report run time
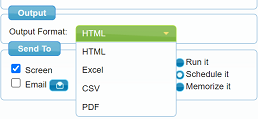
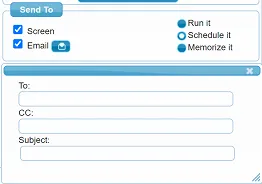
- Choose the output format desired (html, excel, csv, pdf)
- Configure the desired delivery method ('screen' or 'email'). If selecting email, specific the recipients and email subject.
- Save your settings
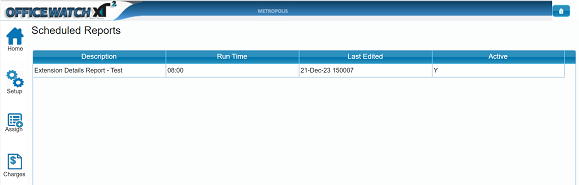
Step 4: Verify the report has been scheduled
- Navigate to Reports>Scheduled Reports
- Confirm that your report is listed correctly under the scheduled reports tab

Key points to remember:
- Ensure you have valid login credentials to XT2
- Apply the correct filters for accurate report generation
By following the steps above, you can easily set up and schedule reports in XT2 Telemanagement and tailor delivery methods to your specific needs and preferences. If any assistance is needed do not hesitate to contact our support team that would be happy to help you.